Gemma models represent a significant advancement in natural language processing, offering the AI community lightweight, state-of-the-art models for a variety of text-to-text applications. If you’re looking to harness these advancements, this guide is designed to help you Run Gemma with PyTorch locally on your machine. By following the steps outlined, you will be equipped to fully leverage these powerful models for your projects, ensuring you can make the most out of the capabilities that Run Gemma PyTorch offers.
Table of Contents
Step 1: Prerequisites to Run Gemma with PyTorch
Before starting the setup process, ensure you have Docker installed and configured on your system. Docker is essential for creating isolated environments, making it easier to manage dependencies and configurations. If you haven’t already, configure Docker to allow non-root users to execute Docker commands:
sudo usermod -aG docker $USER
newgrp docker
Additionally, ensure you have PyTorch installed in your environment. PyTorch serves as the backbone for running Gemma models, providing the necessary frameworks for model loading and inference.
Clone the Gemma Pytorch Repo
Run the below command to clone the Gemma Pytorch in your local system, this repo contains all the necessary files to run the Gemma.
git clone [email protected]:google/gemma_pytorch.git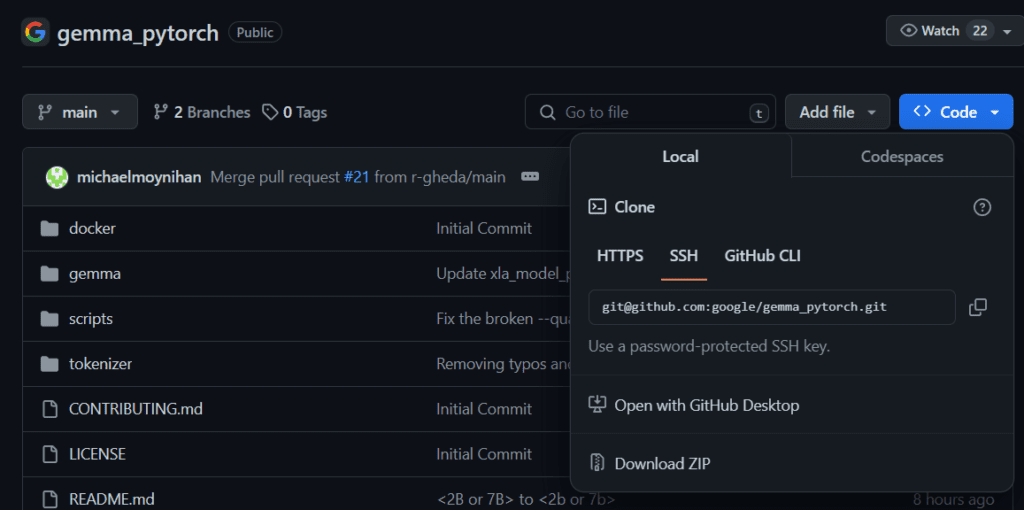
Step 2: Download Gemma Model Checkpoints
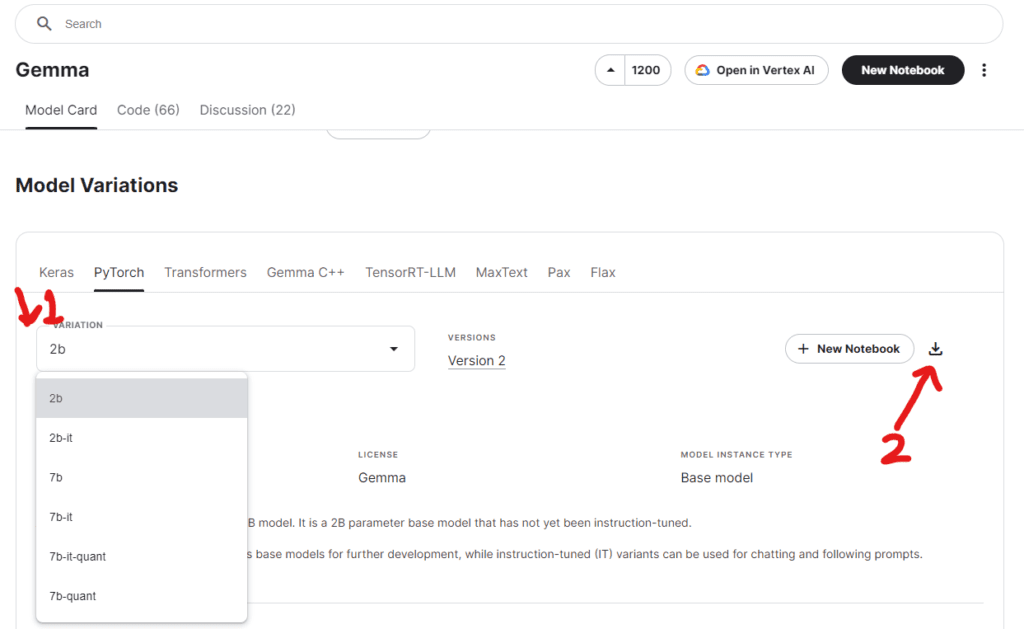
Gemma models come in various sizes and configurations, including 2B, 7B, and 7B int8 quantized variants. To start, you’ll need to download the appropriate model checkpoint from Kaggle:
- Visit the Gemma Kaggle page.
- Choose the model variant you wish to use.
- Download the checkpoint and note the download location, as you’ll need it for running the model.
Step 3: Setting Up Your Local Environment
Docker Setup
The use of Docker containers simplifies the process of setting up and running Gemma models. Depending on whether you plan to run inference on CPU, GPU, or TPU, you will need to build different Docker images tailored to your setup.
1. Build the Docker Image for CPU/GPU Use
DOCKER_URI=gemma:${USER}
docker build -f docker/Dockerfile ./ -t ${DOCKER_URI}
2. For PyTorch/XLA (TPU and GPU Support):
For TPU support, build using the xla.Dockerfile:
DOCKER_URI=gemma_xla:${USER}
docker build -f docker/xla.Dockerfile ./ -t ${DOCKER_URI}
For GPU support, use the xla_gpu.Dockerfile:
DOCKER_URI=gemma_xla_gpu:${USER}
docker build -f docker/xla_gpu.Dockerfile ./ -t ${DOCKER_URI}
Python Environment Setup
Ensure your Python environment is ready by installing the necessary dependencies. The requirements.txt file in the Gemma repository contains all the required packages:
pip install -r requirements.txt
This file includes essential libraries like fairscale, numpy, immutabledict, and sentencepiece, crucial for running Gemma models.
Read Also: How to Easily Run Google Gemma Model Locally: A Step-by-Step Guide
Step 4: Running Gemma Inference
With the Docker image built and your environment set up, you’re now ready to run Gemma inference. The process varies slightly depending on your hardware (CPU, GPU, TPU).
Run Gemma On CPU:
PROMPT="The meaning of life is"
docker run -t --rm \
    -v ${CKPT_PATH}:/tmp/ckpt \
    ${DOCKER_URI} \
    python scripts/run.py \
    --ckpt=/tmp/ckpt \
    --variant="${VARIANT}" \
    --prompt="${PROMPT}"
Run Gemma On GPU:
Add the --device=cuda option to the command to leverage GPU acceleration:
docker run -t --rm \
    --gpus all \
    -v ${CKPT_PATH}:/tmp/ckpt \
    ${DOCKER_URI} \
    python scripts/run.py \
    --device=cuda \
    --ckpt=/tmp/ckpt \
    --variant="${VARIANT}" \
    --prompt="${PROMPT}"
Using PyTorch/XLA for TPU or GPU:
When using PyTorch/XLA, ensure you specify the device correctly (CPU, TPU, CUDA) in your command:
docker run -t --rm \
    --shm-size=16g --net=host --gpus all \
    -e USE_CUDA=1 \
    -e PJRT_DEVICE=CUDA \
    -v ${CKPT_PATH}:/tmp/ckpt \
    ${DOCKER_URI} \
    python scripts/run_xla.py \
    --ckpt=/tmp/ckpt \
    --variant="${VARIANT}" \
Step 5: Enjoy the Power of Gemma Models
Congratulations! You’ve successfully set up Gemma models locally. Experiment with different prompts and model variants to explore the capabilities of these advanced models. Whether for generating text, translating languages, or any other NLP task, Gemma models offer robust, state-of-the-art solutions.
Remember, the Gemma model ecosystem is designed to be flexible and accessible, encouraging innovation and exploration. Enjoy harnessing the power of these models in your AI and machine learning projects!
Read Also: Why Google Pauses Gemini AI Image Generation: Explained